Are you looking to Restrict Pages by User Role in WordPress? Performing the very task is not a big deal, but many WordPress businesses need to have control over their site’s. They want to have control on certain pages on their websites which users can access.
Restricting certain pages or posts to logged in users can be done throughout Plugins. Where the articles posted by the admin of a WordPress site are called posts and pages are like posts .The Plugin will allow you to restrict all, none, or certain pages, and posts to logged in users only.
As a plugin is defined as a type of software that contains a group of functions that can be added to a WordPress website. They are used to provide additional functionality to your application.
However, in some of the cases where you are working with WordPress as a CMS. As CMS (Content management system) is a system which allows users to easily create, edit, organize and publishing content.
As CMS is one of the most widely used and easy to use content management system which gives many facilities to users. It facilitates the user in creating, editing, organizing and publishing the content on the web servers.
Simple admin interface to select all, none, or some of your pages, and posts. This is how it works!
In this blog, we will illustrate you how to easily do this in WordPress.
WordPress Users Role
Roles are to determine the access level of a user. Which is authorized (invited by an Administrator) to have the access on a WordPress.com site.
Summary:
- Administrator – nothing is off limits.
- Editor – have the access to all posts, pages, comments, categories, tags, and links.
- Author – may write, upload photos to, edit, and publish their own posts on the website.
- Contributor – have no publishing or uploading capability. But can write and edit their own posts until they are published on the site.
- Subscriber – can read and comment on the posts and pages of the working WordPress site.
Each and every user’s role is capable of everything that a less powerful role is capable of doing so and so.
Restrict Pages by User Role in WordPress
WordPress comes with a limited set of tolls by default to restrict content on your website. You may create a private post and can protect it through the password. But these features do not allow you to limit down the access control.
However, we have several WordPress plugins that allow you to do that in few steps. You may select one of them to restrict pages to certain users by their role.
Working with these plugins, you may create a membership website, pay-per-view websites, and even family blogs for your site. You may also have the access to your content by adding paid subscriptions.
Often said, now, let us have a look how to properly restrict this. We will illustrate you different plugins. And you may select the one that fulfils your needs.
1. MemberPress
This is one of the best WordPress membership plugins in the IT field nowadays. You can easily create membership websites with a paid subscriptions with it.
The very first thing you need to do is install and activate the MemberPress plugin. For further details on installing, you must have a look at our blog how to install a WordPress plugin.
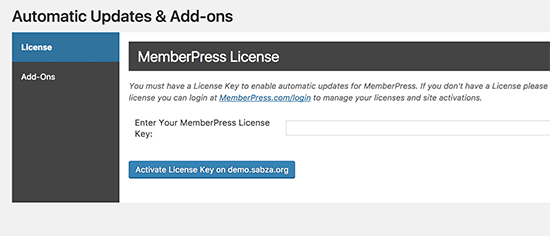
After activation, follow the path as MemberPress » Activate page to enter your license key of WordPress Website. However, you may find this information on your account on MemberPress website.
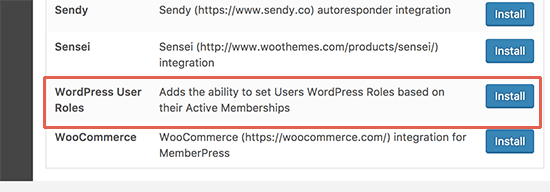
Now, you wish to press onto the Add-On tab and install the ‘WordPress User Roles’ add-on.
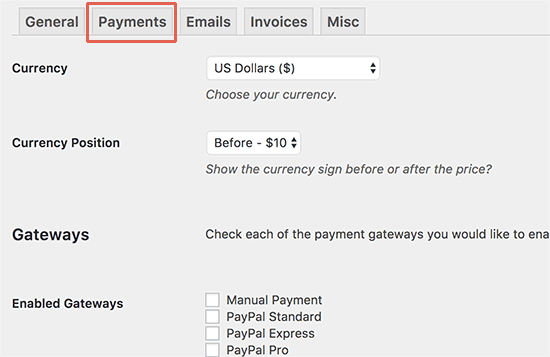
After performing this job, you wish to move further as MemberPress»Options page. Now, press onto the payments box to set up the payments section.
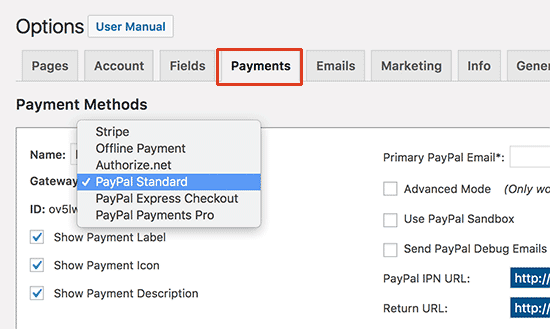
Hence, look at the window and perform the operation – MemberPress supports PayPal Standard, Express checkout, and Payments Pro. Stripe, offline payment, and Authorize.net out of the box. Thereafter, choose the payment methods that you want to use. And provide the credentials which are required.
Now, follow the path as MemberPress » Memberships page and press onto the “Add New” icon to create a membership plan.
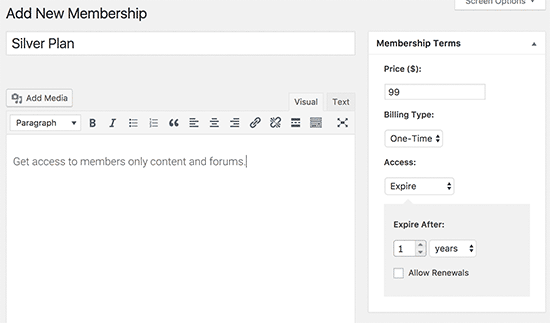
Moving forward with new membership plan. So, set out the price, billing type, and expiration settings from the pop on your window desktop.
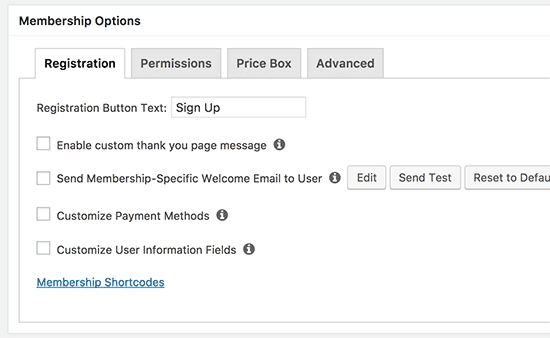
Thereafter, scroll down to its options towards the meta box below the post editor. Here, you can set up different options for the particular membership plan.
Press onto the “Advanced” tab which is under the popped options and selects a user role for the very plan.
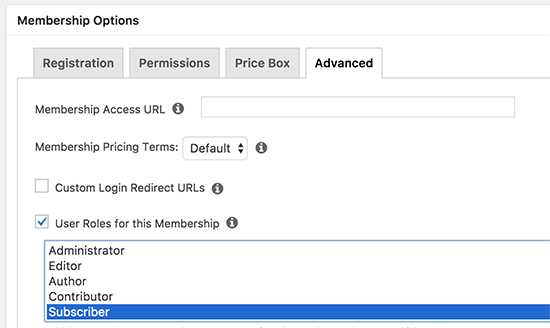
However, be careful while selecting the role as each user role in WordPress comes with its own permissions. Thus, if you want you can also create a custom user with its role in the plan on your site.
Now you may publish your plan.
Whereas, if you wish to add more membership plans. Then you may repeat the process to add them from the very blog.
Now, it’s time to set up the rules to restrict access to the content of your site.
For editing, the rules move further as MemberPress » Rules page and press onto the Add New button at the top of the window.
Pressing this will bring you to the rules edit page. Where you may choose different conditions and associate them with a plan.
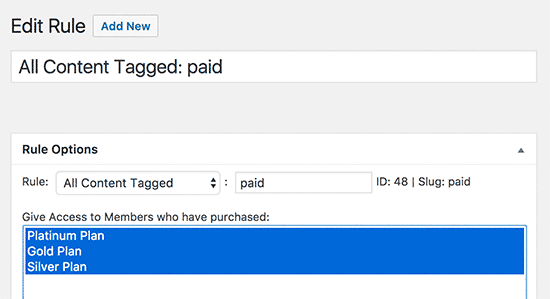
Like you may choose overall content that matches a particular tag or category. But only to be available to members. That has a membership plan which you created a few minutes before.
Finally, you wish to edit the content. The very content which you need to restrict and add it to that particular category or tag which you want to.
2. LearnDash
This is the best WordPress LMS plugin in all. Thus, it allows you to create and sell courses online.
However, it arrives along with built-in subscriptions. Which allows users to enroll in a course before they can look at its content. Therefore, this enables you to restrict the access to course pages.
The task you need to do is: Install and activate LearnDash plugin on your PC.
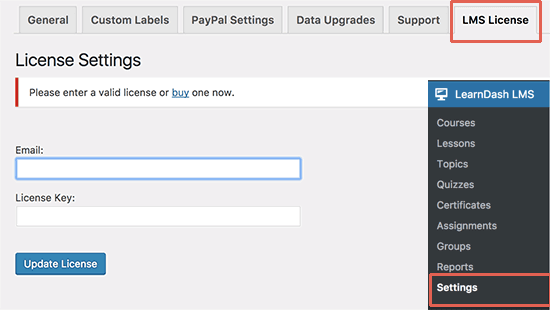
After the activation, you wish to follow the path as LearnDash LMS » Settings page and press onto the LMS License icon. Fill the LearnDash account email address and license key. And press the “Update License” tab to save it.
Further, you wish to move towards the ‘PayPal Settings’ pop to fill your PayPal email address in it.
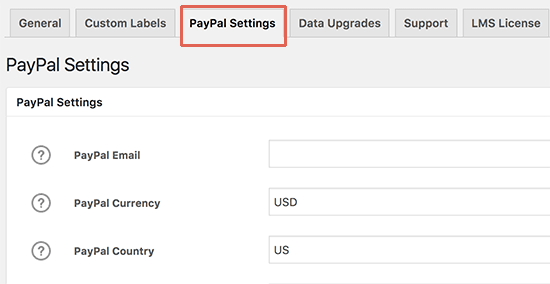
Often, the LearnDash only offers PayPal payment gateway. Whereas, stripe and checkout are available as an extension here.
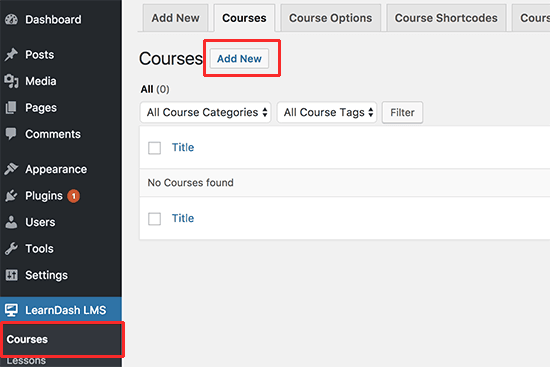
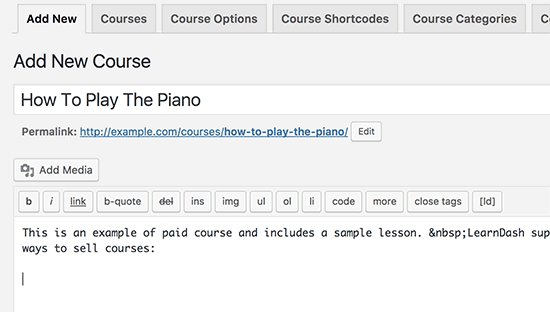
After that, you may follow the path as LearnDash LMS » Courses page and press onto the “Add New” icon to add your first course within the LearnDash.
Now, fill a suitable title and description for your course.
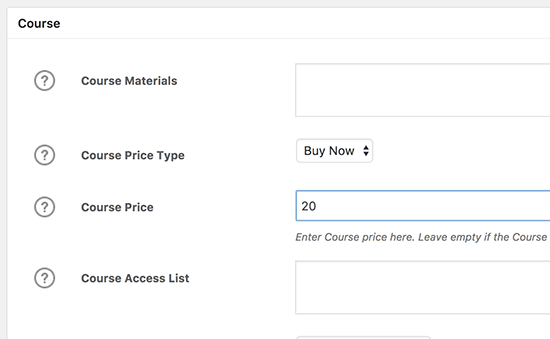
Move towards the course options meta box. And choose an access option for the course. Under the course price type option.
However, the plugin allows you to create an open or closed course. And free, buy a bow, and recurring price type.
Thus for the free courses, users need to enroll still in the courses by creating an account in them.
After that, you can save or publish your course and make a preview of that from your website panel.

Your created course is still empty. To edit it up you will need to add the course contents. For example lessons, quizzes, and assignments.
Thus we can say LearnDash is a powerful tool to sell online courses. While restricting the access to content. However, it works really well with MemberPress to create subscription plans. That automatically provides users access to different courses.
3. Restrict Content Pro
This is a great option to control the access to your website content. It too allows you to add paid subscriptions. And make money online from your membership website. Simply, you need to install and activate the Restrict Content Pro plugin on your PC.
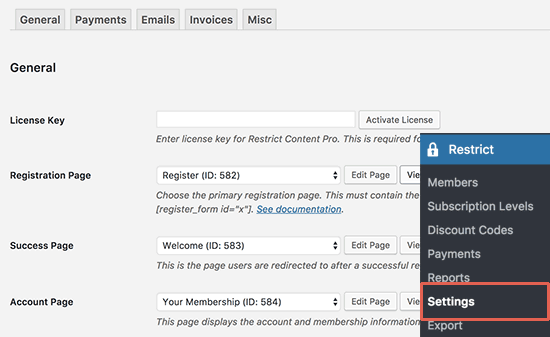
After activation, follow the path as Restrict » Settings page to fill your license key. You may get this key from your account.
Further, you wish to jump at the payments icon to choose a payment gateway. Where a payment gateway is a web-based program or service that accepts and processes the credit and debit card payment for e-commerce stores.
The very plugin allows you to accept payments with PayPal, Stripe, Checkout, Brain tree, and Authorize.net.
Thus, after this select or choose a payment method. Onto which you will be able to add credentials for each Payment method from your PC.
As Security keys are authentication variables that enhance the security of your login credentials. They add an extra security layer to the username and password information stored in the user’s cookies.
Never forget to press the save options icon to store your settings.
However, you wish to edit the pages or posts you want to be restricted by user performance.
Here, on the very window scroll down to “Restrict this content” meta box and choose “Members with certain role” option from your PC.
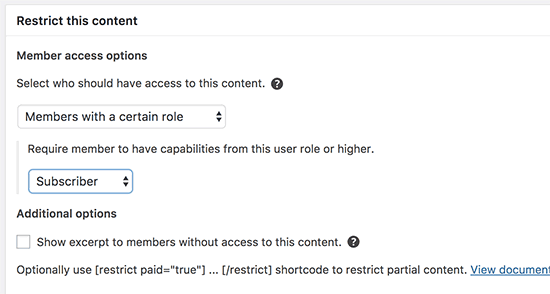
Select the user you want to allow, and then update or publish your content.
Conclusion:
Here, in this blog, we discussed How to Restrict Pages by User Role in WordPress. Often to conclude this we have added its definition and its role along with the summary.
After that, we illustrated the process of the very task Restricting pages in WordPress. You are on your way to getting more exposure. We hope this blog helped you.
Have anything to add, ask, or share? Feel free to use the comments section.
We also support you in making your website run faster as we provide the best techniques to speed up WordPress Website. Dial our Toll-Free number+1-888-738-0846.