LinkedIn is for everyone who is curious about taking their professional life more significantly by looking for new opportunities to grow their careers and to connect with other professionals. Some use Zapier to connect the app which they are using every day to automate their work to be more productive.
LinkedIn experts developed a social network for professionals. Also, it is a strong platform to bring traffic to your website.
Here, in this post, we will illustrate the two methods to auto-publish WordPress posts to LinkedIn. By using IFTTT and by using the plugin.

Methods to Auto Publish WordPress posts to LinkedIn
Auto-Publish WordPress Post to LinkedIn by using IFTTT
IFTTT stands for If This Then That. IFTTT is also a web service that permits you to add your other online accounts and make them work for you.
The very first thing, you have to sign up for an IFTTT account. Just go to the IFTTT website and press the sign up button.

After signup, IFTTT will display you how it works. Follow the on-screen instructions until you reach the IFTTT dashboard.
It will look something like as shown in the below image:
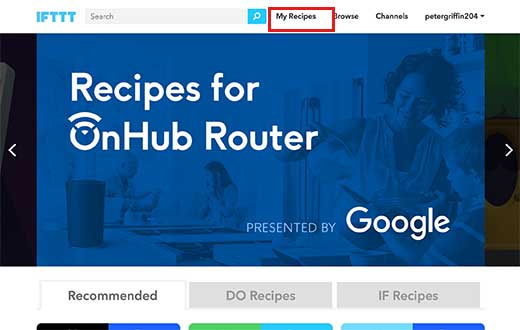
The process created by IFTTT is called a recipe. To create your first recipe, click on the ‘My Recipe’ link at the top.
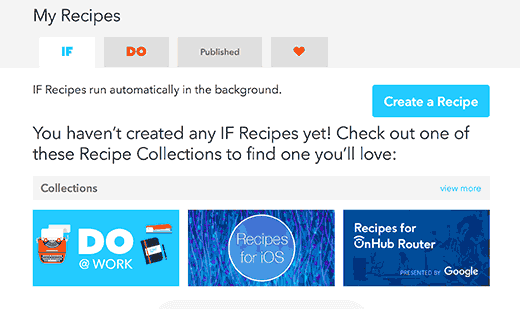
This is the page where all your IFTTT recipes will be displayed. Just click on the ‘Create a Recipe’ button to continue.
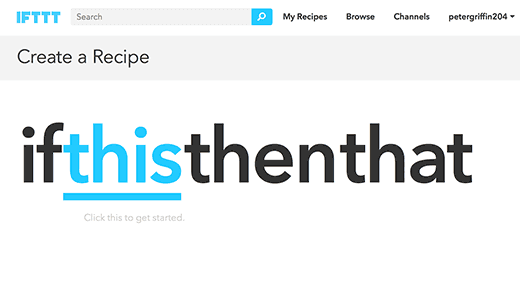
There are two parts in the IFTTT recipe. The first part is ‘this’, which is a trigger that will start the IFTTT recipe. But before IFTTT trigger a fire, you need to tell where to see the trigger. Where trigger is defined when and where the tags is executed.
Click ‘this’ to get started.
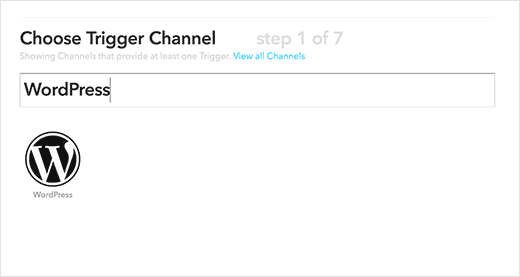
Now IFTTT will show you all the channels which can be used for your trigger. Just have to type WordPress in the search box. Afterward, choose it as your trigger channel.
However, the IFTTT will ask you to connect your WordPress site. Just press the connect button to continue.
You will see a popup window on your screen asking your WordPress website information.
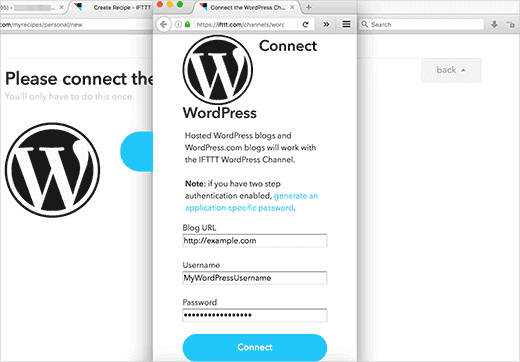
You have to enter your website’s address, your username, and password as shown in the above picture and then press the connect button to continue.
Now IFTTT will attempt to connect to your WP site. On success, it will show you a successful message. Click the done button to close the popup and then press the ‘continue to next step’ button.
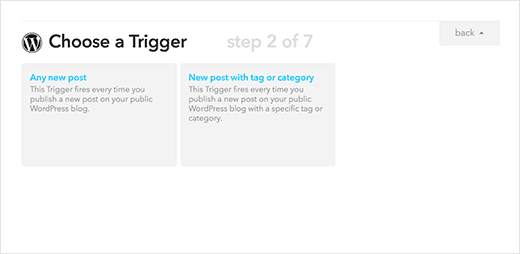
Now it will ask you to select triggers from the available triggers. You can initiate trigger whenever any new post is shown on your WordPress site and also when a new post gets published in a specific tag or category. As the articles posted by the admin of a WordPress site are called posts.
Right now, we will use ‘any new post’ as our trigger, just click on the ‘any new post’ box to continue.
It will ask you to confirm. Just click on the create a trigger button to continue.
The next step is to choose what action should be taken on the launch of this trigger. When a new post appears on your WordPress blog, click on the ‘that’ link to define the action.
First, you have to choose a channel where your action will take place. Find and select LinkedIn as your Action Channel.

This will ask you to connect your LinkedIn account. Just click the connect button and you will see a popup which will redirect you to the LinkedIn website.
As a Popup window is a child window that requires users to interact with it before they can return to operating the parent application.
Enter your login details and then press the ‘OK, I’ll allow it’ button.
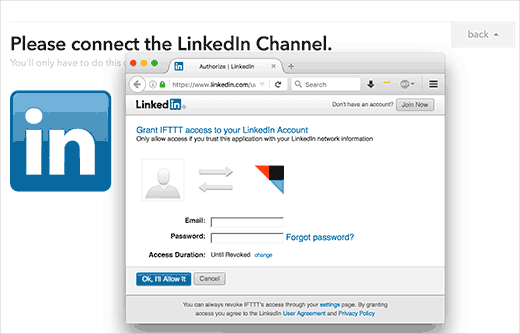
Click the done button to close the popup once you see a success message and then click continue to the next step button.
You will now select the action. You can also share an update or share a link on your LinkedIn profile.
Click the share an update option on the LinkedIn profile to proceed.
IFTTT will ask you to select an action field. It will automatically fetch your post’s title and URL fields and show you in the status box.
Paths are used largely in operating systems for representing the file and directory relationships. They are also crucial to the operation of the internet and basis formation of URLs.
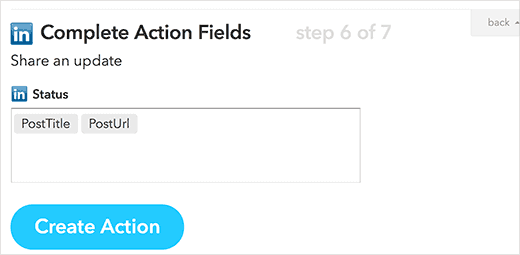
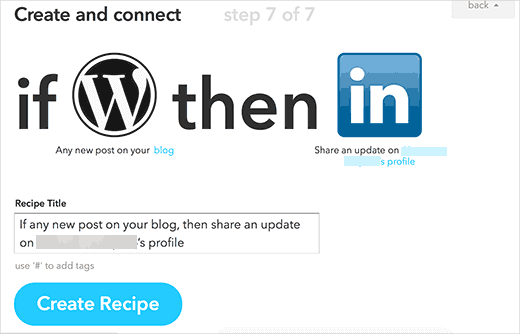
Just click on create the action to accomplish your recipe. Afterward, you will see a summary of your recipe.
You have to click on the create a recipe button to make your recipe live.
That’s all!
Your recipe is live now. Automatically it will inspect your WordPress website for the new posts and will as it see any status updated on your LinkedIn profile.
While sharing a post, it fetches and uses your posts featured image as a thumbnail.
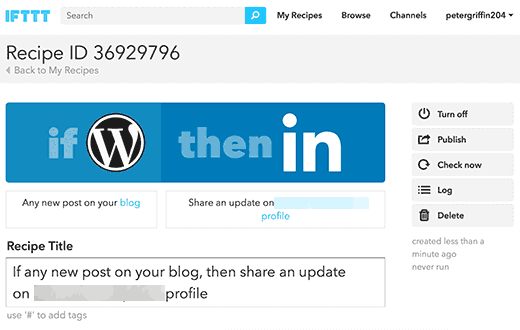
You can see your recipe, just go to my recipes page and also can edit, stop or pause a recipe anytime.
Auto Publish WordPress Posts using Plugin to LinkedIn
Through using WordPress Plugin you can automatically share your WordPress posts into your Linkedin profiles.
The first thing you have to do is to install and activate the LinkedIn Auto Publish plugin. For more information, see our Step-by-Step Guide on how to install the WordPress Plugin.
On activation, the plugin will add a new menu item labeled ‘LinkedIn Auto Publish’ in your WordPress Admin menu. Clicking on this will take you to the settings page of the plugin.
As WordPress Admin has full power over the site and can do everything related to the administration of the site. Administrators can create more Administrators, invite new users, remove users, and change user roles.
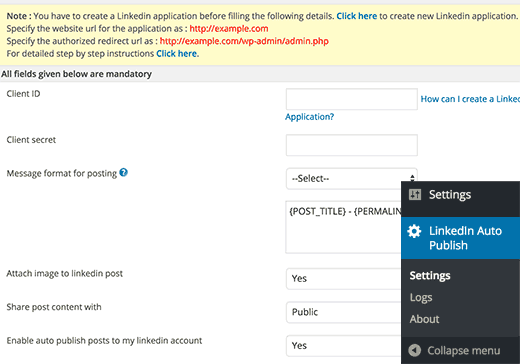
The Settings page will show you two URLs from your site and show a link to create a new LinkedIn app. For this plugin, you will need to create a linked app to get the client and the secret API key. As an API key is like a password.
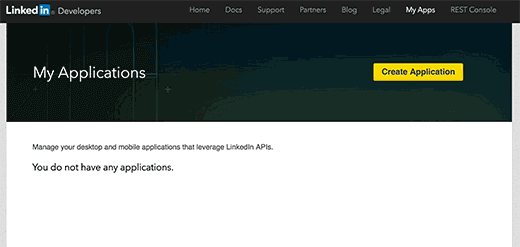
Just go to the LinkedIn Developer’s website and click the Create Application button.
This will bring you to the application form to create a new app. First of all, you need to provide the company name, description for your application.
You will also need to upload the logo for your application. You can use your blog’s logo or any other image for this purpose. The image should be square with equal width and height.
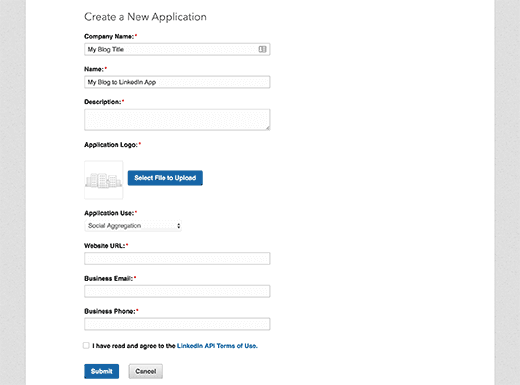
Finally, you need to provide your website address, business email, and a phone number. Check the terms and conditions box and then click the submit button.
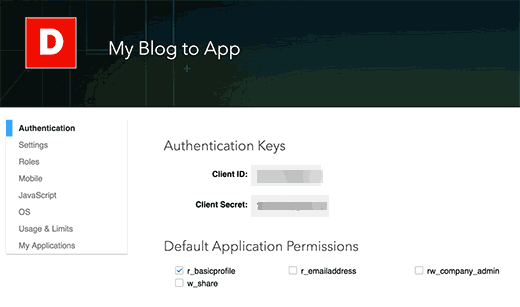
However, LinkedIn will now create your app, and it will take you to the app dashboard. You will get your client ID and the secret key there.
But you still need to add an authorized redirect URL to your app’s dashboard.
Moreover, scroll down a bit and you’ll find the ‘OAuth 2.0 Authorized Redirect URL’ field. Copy and paste the URL from the settings page of the plugin and click the add button.
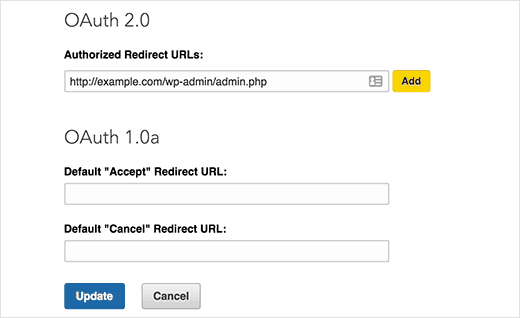
Do not forget to click the update button to store your app settings.
Now simply copy and paste the Client ID and Client Secret keys from your app page to the plugin’s Settings page. After that, click the Save button to store your plugin’s settings.
Your WordPress site is now ready to connect to your LinkedIn account. Click the ‘Authorize’ button at the top of your plugin’s settings page.

This will take you to the LinkedIn website where you will be asked to allow access to the previously created app.
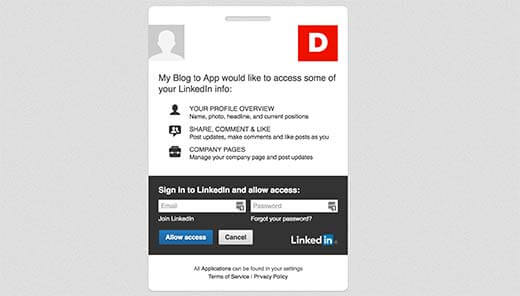
Enter your LinkedIn login credentials and click Allow access button. Further, the LinkedIn will now redirect to the settings page of your WordPress plugin that will show a successful message. The authorize button will now turn into re-authorize.
That’s it, now LinkedIn Auto Publish plugin will now automatically share your posts on your LinkedIn profile of WordPress.
While editing a post you will also find a new meta box at the bottom of your post editor screen. You can disable or change the sharing settings for individual posts with the help of this Meta box.
Conclusion
In this article, we have shown you how to Auto-Publish WordPress Post to LinkedIn. Often we concluded, what actually LinkedIn is? Thereafter, we elaborated its description and the methods to do the same; which are as follows:-
- Auto-Publish WordPress Post to LinkedIn by using IFTTT
- Auto Publish WordPress Posts by using the Plugin
These points do add value to the entire blog post. And often, it leads to the end of the blog.
We hope this content helped you. Whereas, if you found the post useful and interesting then don’t forget to use the comment section. Also, share the blog with your near and dear. You are on your way to getting more exposure.
If you still need help contact our WordPress Technical Support Team. Please Dial +1-888-738-0846 (Toll-Free). We have a team of good professional who can resolve all your issues related to WordPress.
Read More Blogs: