Are you know that how to migrate your WordPress site into a Social Site Network. A WordPress social network allows users to sign up, post messages, connect with each other, and more.
Here, in this post, we will illustrate you how to migrate your WordPress site into a social network.
To migrate your WordPress site into a social site network
Starting your WordPress Powered Social Network
WordPress is one of the best and easy to use platform to create your own social network by using the free BuddyPress Plugin. Also, this plugin is very flexible and integrates with any kind of WordPress website.
To start using BuddyPress you will need a self-hosted WordPress.org website.
If you do not have any websites yet, then first create a WordPress site. And you will be up and running in no time.
What is BuddyPress?
BuddyPress plugin is a sister project of WordPress.org. Also, it is available as a free WordPress plugin that you can easily install on your website.
This plugin migrate your WordPress site into a social site network so you can make yourself an online community. Here we will show you some features of a specific BuddyPress powered website:
- Users can register on your WordPress site.
- Users will be able to create extended user profiles.
- You will be able to create sub-communities with user groups.
- Users can send the private messages to each other.
- However, BuddyPress functionality can be enlarged by using the third-party plugins.
- Works with any standard compatible WordPress theme.
- Can be set up on your existing site.
Setting up your WordPress Social Network by using BuddyPress
First, you have to install the BuddyPress plugin and then activate it. For more details, visit our guide How to install a plugin in WordPress.
At the time of activation, you need to go to Settings>>BuddyPress page to configure plugin settings.
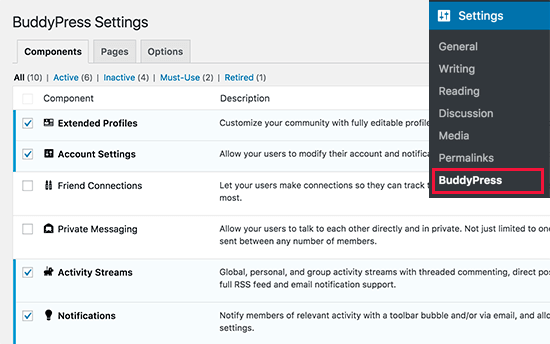
Remember that, the settings page is divided into different sections. First, you will see the component page that shows the currently active BuddyPress components on your site.
The default components will work for most WordPress sites. Although, you can simply activate or deactivate a component by checking and unchecking the box next to it.
Keep in mind that, don’t forget to click the ‘Save Setting’ button to save your changes.
After this, you have to click on the Page tab. Here you can choose pages that you want to use for different BuddyPress sections of your site.
By default, the plugin will create pages automatically for you. If you want you can change them and use a different page.
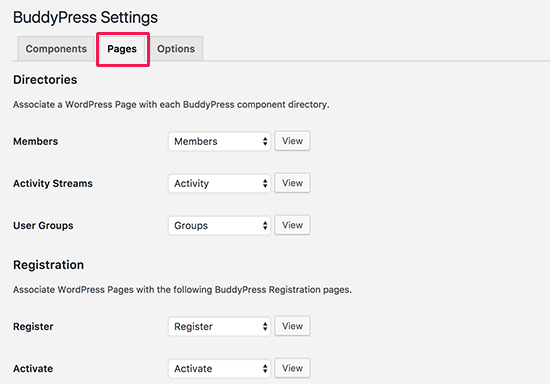
In case you don’t see the option to choose the registration and activation pages, you have to enable the user registration on your WordPress site.
Now, you have to switch to the ‘Options‘ tab.
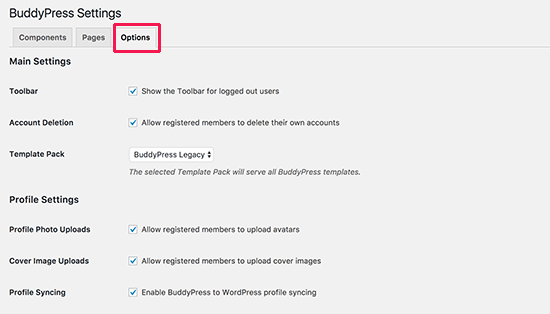
Here you will find various settings that you can migrate on/off in BuddyPress. Default settings will work for most sites. But you can review and change them as per requirement.
Displaying BuddyPress Pages on Your site
If you come to your site after setting up the BuddyPress, you will not see anything new added to your website. To change it, you have to add BuddyPress pages to your Navigation menu WordPress.
Go to Appearance>>Menus Page. And then choose the BuddyPress Pages from the left column and click the add on the menu button.
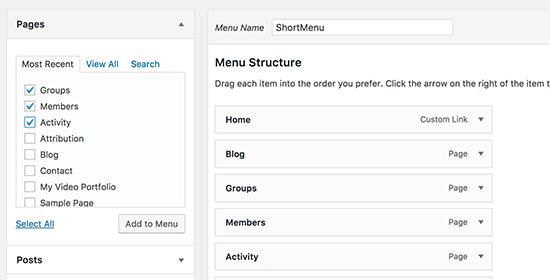
Keep in mind that, do not forget to click the ‘Save Menu’ button to save your changes.
Now, you can go to your WordPress website to view the link in action.
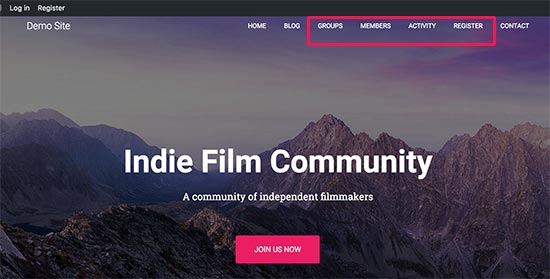
By clicking on a link will take you to a BuddyPress page.
For example, Activity link will display you what’s happening now in your BuddyPress social network. Also, you can updates post status on this page.

BuddyPress works with all standard compatible WordPress themes. Also, it comes with your own templates if your theme does not have BuddyPress specific templates.
Managing Your WordPress Social Network in BuddyPress
Creating an online community requires a very active involvement by the site admin.
In case you are using Akismet, so BuddyPress will use Akismet to catch the spam.
However, some unwanted content can still slip away.
Although, BuddyPress comes with built-in devices to deal with that.
Go to the Activity page in your WordPress Admin area, and then you will see recent activity with various actions on your site.
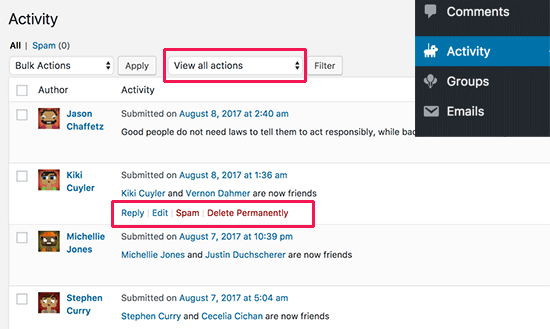
However, you can sort activity items by action, delete items, or mark them as spam.
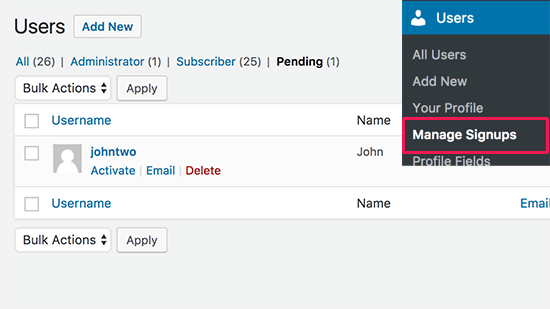
Similarly, you can visit the Users page to manage user accounts. Apart from this, you can edit the users’ profile, delete the users, or mark suspicious accounts as spam.
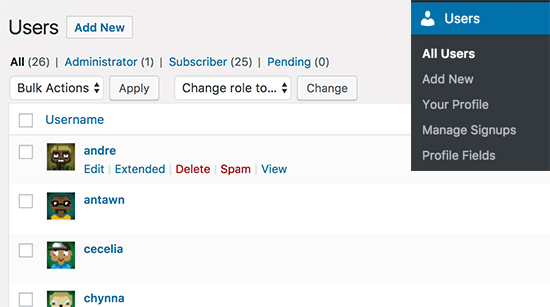
Now, you can manage the new users by going the manage signup page. This allows you to activate new users directly, delete spam accounts, or resend them activation emails.
Creating and Managing Groups in BuddyPress
BuddyPress allows you to create groups. Also, these groups act as sub-communities on your WordPress site. Every group can have its own members and activity stream. The users can join these groups, post messages and invite other users.
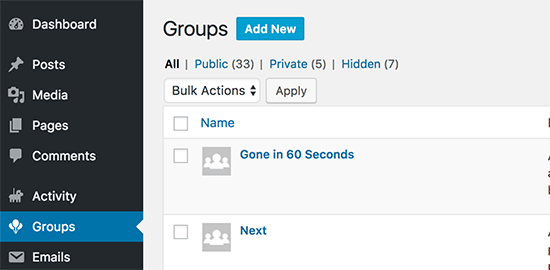
For creating the new group, you can go to the Group page and then click the add new button at the top.
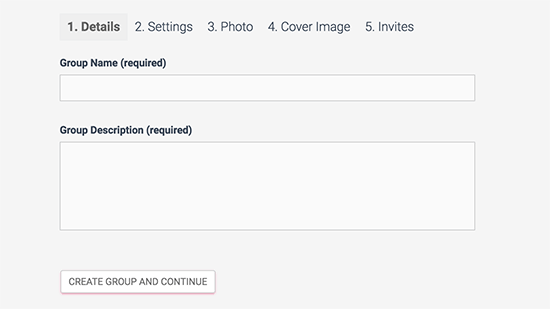
It will bring you to the add new group page. First, you have to provide name and description for your group. And then click the ‘create group and continue’ button to proceed.
Now turn over the next, here you can choose the group’s privacy settings and who can invite other users to the group. BuddyPress permits you to create private, public, and hidden groups.
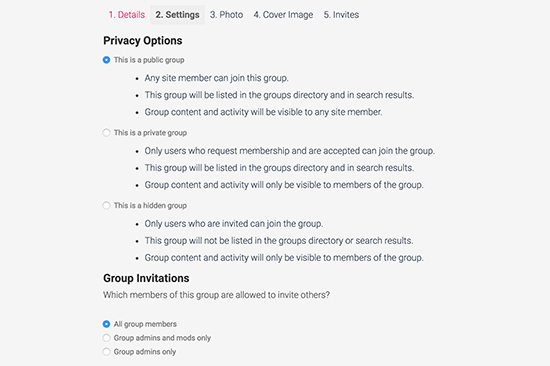
However, Public groups are available for all users to join.
Also, Private groups are listed in the group directory, but users will have to request to join. If approved, they will be able to see its contents.
And Hidden groups can be seen only by members who are the part of the group. However, These groups are not listed in the group directory, and they don’t appear in search results.
After setting up privacy options, then click the next button to continue.
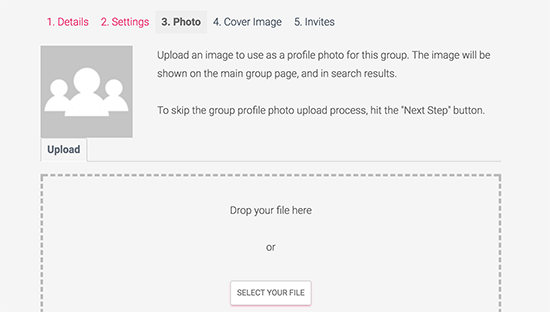
You can now provide a photo to use as a group’s profile photo.
After that, you have to add a cover photo for the group and click the next button.
Lastly, you can invite other users to join the group. Only you can invite those users that you have added as friends. If you have not added any friends yet, you have to wait for users to search for the group and join it on their own.
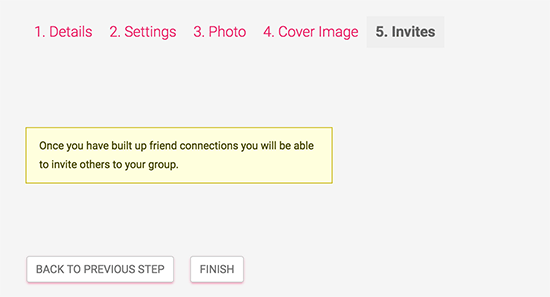
Click the finish button. Now BuddyPress will set up your group.
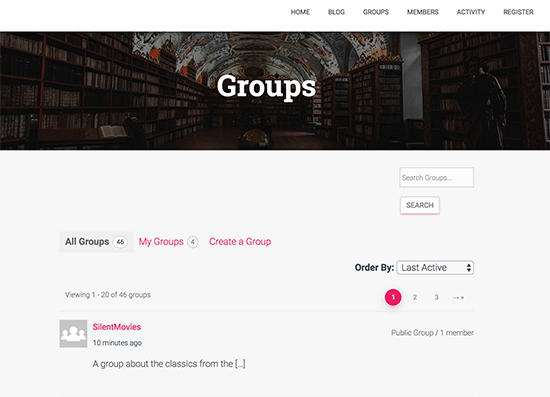
The users can see groups by visiting the group page on your WordPress website, which shows the directory of groups on your site.
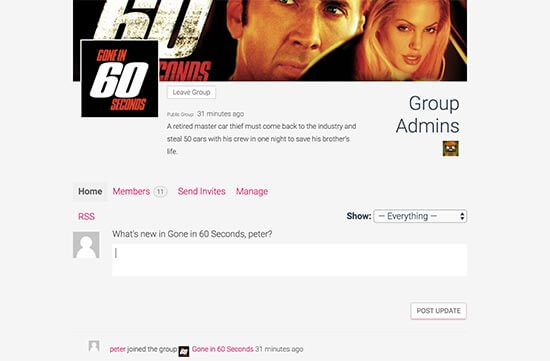
By clicking on a group name will display the group’s page where users can join the group, post updates, and follow group activity.
Managing Email Notifications
Email notifications are the way your BuddyPress website can alert users about new activity in their social stream. To encourage user engagement, you may want to customize those email messages.
Apart from this, BuddyPress permits you to modify the email notifications sent by your WordPress social network. It helps you to change messages to match your site’s branding and tone.
Now you can go to the emails page to view the list of default notifications. Also, you will see the email title, and the situation when the email is not sent to the user.
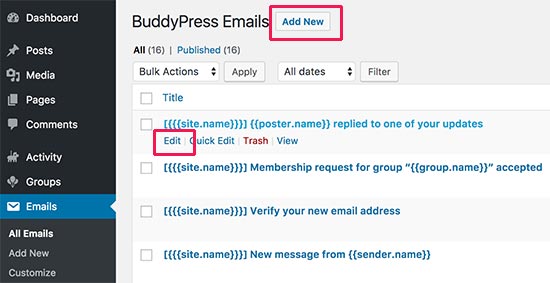
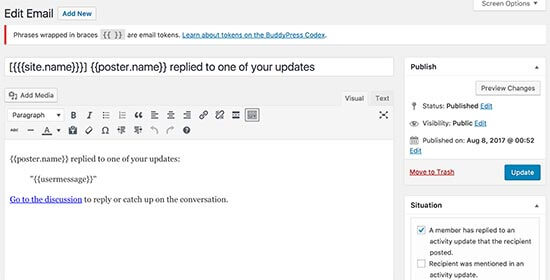
You can click the ‘Add New’ button at the top to create a new email notification. Also, you can click the ‘edit’ button that is below the email message to change it.
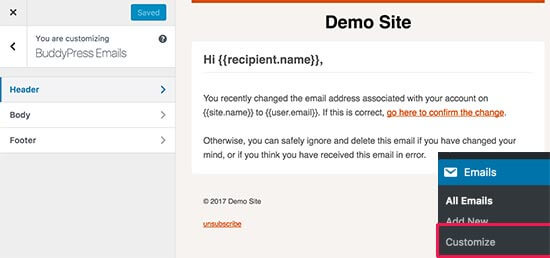
Finally, you can use email customizer too to modify email colors, header and footer areas.
Troubleshooting BuddyPress
A lot of issues come with BuddyPress will be similar to WordPress issues. Make sure you check the list of the common WordPress errors to see if it is listed there or not.
In case your users are not able to receive email notifications, then follow the steps of our guide fix WordPress Not Sending Email Issue.
CONCLUSION
We hope this post helped you to migrate your WordPress site into a Social Network. Read the above steps carefully and migrate your WordPress website.
If you are facing any problem to migrating it, then feel free and use the comments box below! We are very happy to help you.
Also, share the blog with your peers!
You can talk to our WordPress Support Team, dial +1-888-738-0846(Toll-Free). We have a team of good professional who will help you to resolve all queries related to WordPress. So, feel free to contact as we will be pleased to help you.