Do you want to know How to easily display Weather Forecast in WordPress? Nowadays many of websites owners may want to show weather forecast to keep their users notify about weather conditions for general locations. If you are going to add the feature of weather forecasting in your WordPress website, then this blog will help you to add the weather forecast on your WordPress site.
Why and Who Needs Weather Forecast in WordPress?
In many cases, the user needs to know about weather and temperatures forecasts and at this, it is very useful on our website. It is not necessary to show weather forecast in every website. Many of business or organization are showing weather forecast on the decision/demand of users. It can a hotels, event organizers, tourism and many other places. WordPress is having many plugins that can retrieve the information about weather and it will present on your website. You had to choose fast and well-arranged plugins and don’t prefer links to weather services.
Many of plugins having facility to do changes easily and you will get built-in option to design which is good for your website’s design. Some of the plugins will get need the World Weather Online API. Now let’s see how we can add weather forecasting feature in your post.
Some of the best Weather Forecasts Plugins for WordPress:-
- Weather Forecast Widget
- WordPress Weather Forecast Widget
- WeatherSlider
- Bonobo weather widget
- WP Wunderground
- Weather Layer
- My Weather
Adding Weather Forecast in WordPress
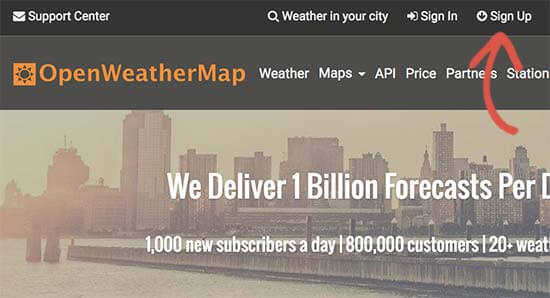
- Begin with the installation of WP Cloudy Plugin. For more information see our guide on How to install a Plugin in WordPress. It can work without an API key. But it is compulsory to use OpenWeatherMap API key to avoid timeouts. Normally, go to the website of OpenWeatherMap. And then it will display an OpenWeatherMap window, after going to the link to sign up and click it.
- After that, you will get your profile page and click on the API Keys tab. Then you will get a micro window to fill name of the weather tab and then press the ‘Generate’ button.
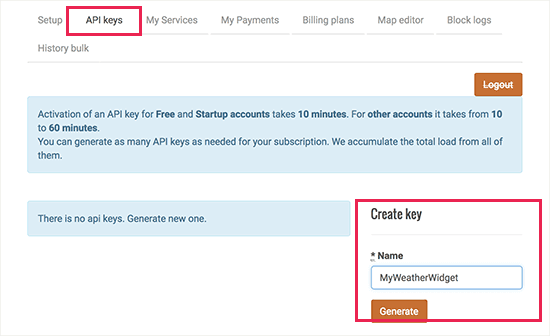
- Weather Map will generate an API Key. So, open it and copy that specific API key.
- On the next window, go to the Settings, and then WP Cloudy. In this page you will get your WordPress admin area, here you click on the ‘Advanced’ tab.
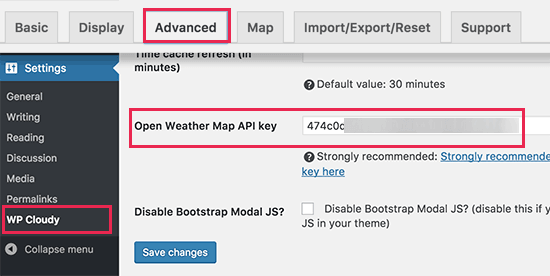
- In this window, come downward and to the ‘Open Weather Map API key’ option and paste that API which you had copied before. Then click on Save Changes button to get your settings.
- Now, it is ready to get the result of search about the weather. You can do this in another way, which is, click Weather on your Dashboard and then Add a New page to generate your first weather report.
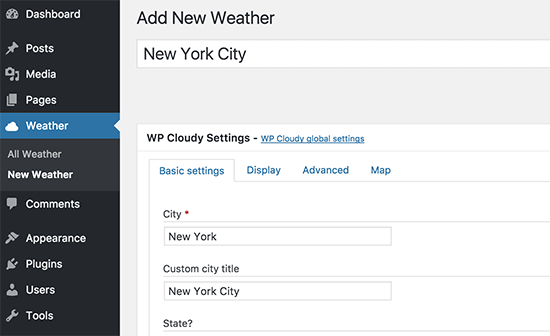
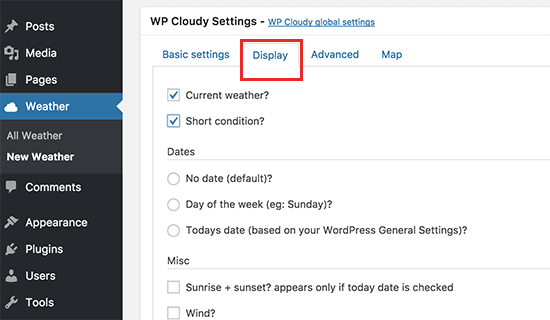
- Here, fill your city, state and country name and go to the ‘Display’ tab. You can set or choose your different display settings. Through this, you can show your weather forecast in a different way.
- For saving this weather report, click on the publish button. Then it will give you lines of the shortcode, copy that code.
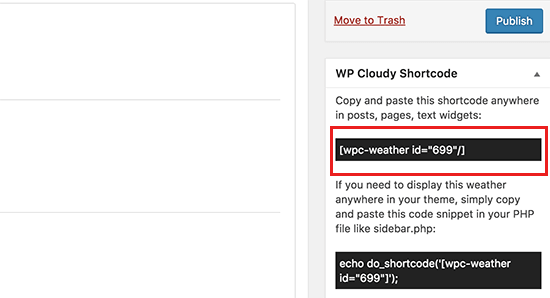
- Add this piece of code in your WordPress Website and it can be also added to a sidebar widget.
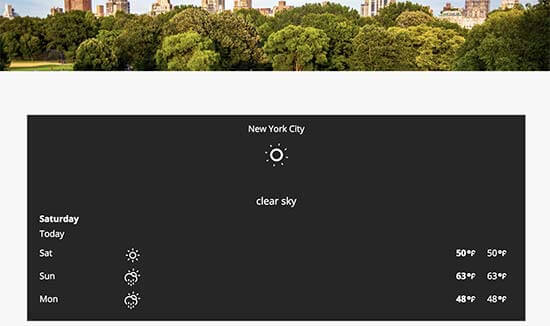
- Now you can visit your website easy to see the weather forecast in action.
Final Thoughts
If you are facing issue while following the above steps then, in addition, we have described some of the WordPress Weather Widget Plugins which can help you to predict the future. We hope this blog helped you to know that How to Show Weather Forecast in WordPress.
We provide the best WordPress Security to our users. If you need any help then contact us and fix all your problems dial +1-888-738-0846 (Toll-Free).