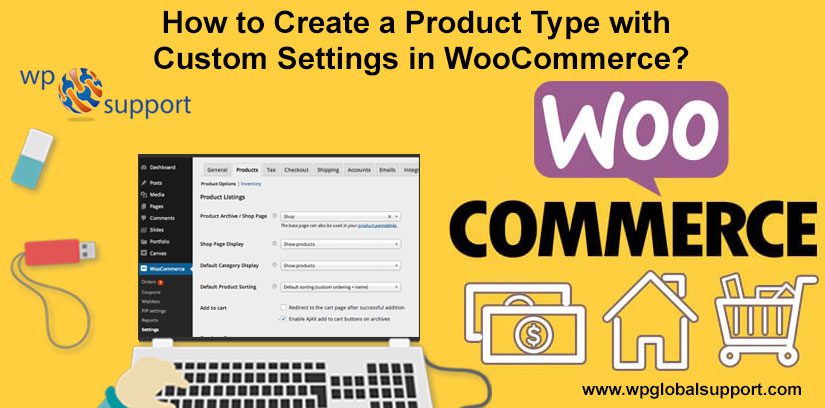

Today in this post, Our discussion will be focused on how to create a product type with custom settings in WooCommerce? Let’s see, As WooCommerce has four product types, ‘Grouped’, ‘Simple’, ‘Variable’ and External/Affiliate product.
As WooCommerce widely popular e-commerce platform is home to nearly 400,000 sites. And it lets you create an e-commerce business (store), manage inventory, accept payments, and much more. It comes with almost all the functionalities that you require to open an online store.
Recently, we had a customer who wanted to create a certain type of product, which was not ‘fit’ of any of the current product types. However, instead of optimizing existing products, we concluded, the best way to move forward with it to create a new product type.
Creating a Custom Product Type in WooCommerce
To keep your own product type, you are allowed to control product settings. For example, you can set the default value such as price, visibility etc.
However, if you want to create a new product type, then you have to do this. And add the below code in function.php of your active theme, or a custom plugin.
As where, function.php file is also known as theme function file. It is used by WordPress theme to define classes, actions, functions, and filters that to be used by our templates. Here templates are those files which control how your WordPress site will be displayed on the Web.
Here theme is a group of stylesheets and templates that are used to describe the appearance and display of a WordPress site. Also, plugin is defined as a type of software that contains a group of functions that can be added to a WordPress website. They are used to provide additional functionality to your application.
| // add a product type add_filter( ‘product_type_selector’, ‘wdm_add_custom_product_type’ ); function wdm_add_custom_product_type( $types ){ $types[ ‘wdm_custom_product’ ] = __( ‘Wdm Product’ ); return $types; } |
| add_action( ‘plugins_loaded’, ‘wdm_create_custom_product_type’ ); function wdm_create_custom_product_type(){ // declare the product class class WC_Product_Wdm extends WC_Product{ public function __construct( $product ) { $this->product_type = ‘wdm_custom_product’; parent::__construct( $product ); // add additional functions here } } } |
Adding Custom Fields to Product Settings
Now when you have your custom product type. Then it is understandable, that you will need to add some additional settings fields for your custom product type. However, WooCommerce provides functions for add:
- A Text or Numeric Field: woocommerce_wp_text_input()
- A DropDown List: woocommerce_wp_select()
- A Text Area: woocommerce_wp_textarea_input()
- A Checkbox Option: woocommerce_wp_checkbox()
- A Hidden Input Field: woocommerce_wp_hidden_input()
Hence, you can use these functions to add the settings option, using the specified hooks. As hooks are just like the functions of WordPress. These hooks can be applied to an action or to a filter in WordPress.
Also with the help of these hooks you are able to modify the areas in a theme or plugin. But you can do so without modifying the original file.
An example shown below, which adds a numeric field and a checkbox to the product settings:
| // add the settings under ‘General’ sub-menu add_action( ‘woocommerce_product_options_general_product_data’, ‘wdm_add_custom_settings’ ); function wdm_add_custom_settings() { global $woocommerce, $post; echo ‘<div class=”options_group”>’;//*Create the number field. For example for UPC woocommerce_wp_text_input( array( ‘id’ => ‘wdm_upc_field’, ‘label’ => __( ‘UPC’, ‘woocommerce’ ), ‘placeholder’ => ”, ‘desc_tip’ => ‘true’, ‘Description’ => ( ‘Enter the Product Code’, ‘WooCommerce’ ) ‘Type’ => ‘number’ ));//*How to create the checkbox to product purchase status. woocommerce_wp_checkbox( array( ‘id’ => ‘wdm_is_purchasable’, ‘label’ => __(‘Is Purchasable’, ‘woocommerce’ ) ));echo ‘</div>’; } |
So, doing this is quite simple. But just showing these options is not enough. Also, we need to save and use these options, you have to do the following:
| add_action( ‘woocommerce_process_product_meta’, ‘wdm_save_custom_settings’ ); function wdm_save_custom_settings( $post_id ){ // save UPC field $wdm_product_upc = $_POST[‘wdm_upc_field’]; if( !empty( $wdm_product_upc ) ) update_post_meta( $post_id, ‘wdm_upc_field’, esc_attr( $wdm_product_upc) );// save purchasable option $wdm_purchasable = isset( $_POST[‘wdm_is_purchasable’] ) ? ‘yes’ : ‘no’; update_post_meta( $post_id, ‘wdm_is_purchasable’, $wdm_purchasable ); }// to use the field values just use get_post_meta, and you are good to go! |
This code has been written by trained professionals for your own safety.
CONCLUSION
Here, in this post, we have discussed the method of “How to create a Product Type with Custom Settings in WooCommerce”?
By using above codes, you can easily create a product type with custom settings in WooCommerce. Read this blog carefully and create a product type with custom settings.
If you have any question or suggestion related to this, let me know in the comments box.

If you want fast and best support then talk to our WordPress Customer Service Team, dial +1-888-738-0846(Toll-Free).