Suffixing long research! Every blogger or social media marketer noticed that – sharing a link of your site in the faith of your blog posts or a page over Facebook, either does not show up or it is not the right one. Even though, sometimes the text from your blog post or web page does not get illustrated properly. Here, comes the twist and now you need to fix it. Often you are not very aware of the issue, hence, fix WordPress images via Facebook Debugger with our helpful article on the same.
So keep reading, we will illustrate to you a super easy guide which will help to fix the twin within a short time interval. But before that, we will show you some basics like – how Facebook displays WordPress images, what is a Facebook debugger and how to use it, etc.
Let’s get cracked…
How Does Facebook Select the Caption and Images?
Well, whenever you or the visitors or users of your website share the blog posts of your website to Facebook. Therefore it generates a preview of that blog post or content, which usually shows an image and caption. However, you can see it in the Facebook preview too.
Basically it shows the pages or blog post that was shared from your website to a Facebook page by a third party application. Although Facebook previews have the Image, Caption, and Introduction. However, the introduction is the message someone writes when sharing the post.
Basically the caption and image are determined by the crawler of Facebook. Therefore the crawler scrapes the HTML of your web pages. After that, it selects the image and caption it uses when the post is shared with Facebook.
Although Facebook has stored the information in its own cache for 30 days after it scraped any of the web pages from your website. Therefore if the other person shares the same post on Facebook. Then the system does not recrawl the web page of your website. But, it just re-publishes the same image and caption which was used last time.
However, a few things may go wrong due to this scraping process. Because Facebook crawlers may grab an image that can be different from the main header image that you have chosen for that post you want to share. Therefore whenever you update the blog post with fresh images or headlines.
Then also the Facebook preview may display the old version of information instead of your new one. Because your Open Graph tags such as og tags did not set up in the correct manner. Therefore as a result the wrong image and caption can show up in the preview.
Although that is where the Facebook debugger comes in. Because the testing of the web pages of your site with the help of Facebook Debugger is very simple such as just entering the address of the web page into its search bar, and then it reviewing the report that it generates.
How Facebook display WordPress Images and Links?
When you share a post on Facebook, so it chooses a specific set of information that defines, what to display. For doing the same the Facebook uses elements called ‘open graph meta tags’ that are also known as ‘og tags’.
Facebook caches your images on their Server and CDN while you share the content on your WordPress site. You can think in the same manner as caching works on your site. Sometimes you need to clear the cache to get something working again.
The same things apply for Facebook – means to say, when sometimes you update something on your site and share it on Facebook, so it may still display an old image. This is because instead of fetching the new information it serves up the already cached information.
Likewise, the same things apply for information about your content and link. They fetch what they call Open Graph Meta Tags.
In accordance with Facebook, the Open Graph protocol allows web pages to become a rich object in a social graph. Generally, these are the tags developed by Facebook in 2010 that inform facebook what information you shared.
Further, the most popular plugin such as Yoast SEO and Social Warfare use “Open Graph Meta Tags” automatically.
For example, visit our guide How to install WordPress. Here you will see the mentioned data regarding the open graph. However, the open graph uses various attributes like og:image, og:locale, etc. This is the code that Facebook uses to display the title, description, and featured image;
| <meta property=”og:locale” content=”en_US” />
<meta property=”og:type” content=”article” /> <meta property=”og:title” content=”A complete guide on WordPress Rich Snippet” /> <meta property=”og:description” content=”Basically, a normal Snippet is a result which Google shows to the users in the Search Engine Result Pages. For example, if you are searching for a good recipe for homemade chocolate and you googled it. Google shows you the results list in SERP (Search Engine Result Pages) with normal and rich snippets.” /> <meta property=”og:url” content=”https://www.wpglobalsupport.com/use-rich-snippets-in-wordpress/” /><meta property=”og:site_name” content=”wpglobalsupport” /> <meta property=”article:publisher” content=”https://www.facebook.com/wpglobalsupport/” /> <meta property=”article:section” content=”Social Media Marketing” /> <meta property=”article:published_time” content=”2018-04-23T11:00:38+03:00″ /> <meta property=”article:modified_time” content=”2018-04-24T11:30:51+03:00″ /><meta property=”og:updated_time” content=”2018-04-24T11:30:51+03:00″ /> <meta property=”og:image” content=”https://s15158.pcdn.co/wp-content/uploads/2018/04/Featured-Image-rich-snippets.png” /><meta property=”og:image:secure_url” content=”https://s15158.pcdn.co/wp-content/uploads/2018/04/Featured-Image-rich-snippets.png” /> <meta property=”og:image:width” content=”695″ /><meta property=”og:image:height” content=”308″ /> |
Causes of the problem
#1: Well, there are several reasons for this issue. Hence, it is a bit difficult to know which one creating a specific issue. But, most of the time this error occurs due to the inappropriate use of og tags (Open Graph tags set as og: images). Due to this og:image tag error the featured image is smaller than the others.
While you sharing an article on Facebook, so by using og tags it tries to determine which thumbnail is best to use. And sometimes pick a larger image instead of the one you have set. However, sometimes the og tags are missing due to cache plugin or hosting such as CDN systems not choose the right image.
#2: It can also be due to using an image size that Facebook doesn’t like. Further, Facebook accepts at least 200 x 200 px images and prefers at least 600 x 315 px larger images. However, a 1200 x 630 px resolution image is ideal for large displays.
#3. You know very clearly speed up WordPress plays a very important role to rank a site. This means to say, if your pages loading speed is good, then users can focus on your content, otherwise, you can lose your user’s potential.
Fast forward, a WordPress website is only a combination of code and files that run together to create a good interface. But when any user visits your site, so these files and codes need much of processing power from your server – that’s it too much slow. And when you add content to your site it only gets worse.
The reason for the problem is – your server cache a web page. Now the question is how to cache a web page? let’s see – Generally, it creates a static HTML copy of this and sends it to the browsers of any new visitors.
In reality, you have to clear the cache of your web page when it has changed, many times some small issues occur such as meta title or featured image. Because of this, Facebook unable to upload the correct element.
The best solution to the same problem is using a WordPress caching plugin – we have mentioned below some of the best plugins to clear the cache.
#4. Facebook Caching: Similar to the WordPress site, Facebook also has its own caching system.
When you shared a post to Facebook and you want to tweak your featured image. Therefore, you delete the old one to update and save the new image. And when you uploaded the new one so sometimes Facebook shows your cache.
#5. WordPress has a dedicated widget to set a featured image. But sometimes users forget to set it. In this situation, Facebook behaves the same as the undersized image. It picks the first one properly sized image of your post and shows on the page.
Fast forward, there are two ways to solve the problem;
- Manually uploading the images. But there is a problem with this solution – When we click on the image, the image opens in a lightbox instead of moving the reader to the article. And stored in your uploaded images and timeline. This is not a good solution because a user that shares your article will see and share the wrong image.
- Using Facebook Sharing Debugger. It is the best solution to fix the problem. However, here we are focusing only on images but the Facebook debugger will also check URLs, titles, descriptions, and much more.
Facebook Caches The Information of Open Graph Meta Tag
Although there is also some other concern viewpoint about How the Facebook preview cards work? However, when it scrapes your website’s HTML. Then the content is cached on Facebook’s servers. Therefore when anyone else tries to shares that same link next time on Facebook. Therefore Facebook will use its own cache information about that.
Rather than doing the same thing again and scraping your website. Because it is very easy to pull that information again and again from its own cache. However, it is very essential because simply it implies that any changes that you made to your websites Open Graph meta tags. They will not update until the Facebook clears its own cache.
Certainly, the Facebook scrapes each link every 30 days by default (source). However, it creates two possible problems. Such as if there are some known issues with the Open Graph meta tags within your content. Also, if you are not using any type of plugin that adds Open Graph meta tags.
Therfore when someone shares your link on Facebook, then you will see some of the wrong titles or image. Although you may not see able to the right images on Facebook, even when you fix all those issues right away. Because the reason behind this is that Facebook cached the older version of your Open Graph tags.
However, the facebook debugger can help you to fix all those problems very easily. First of all, it will help you to find the specific issues with the implementation of your website’s Open Graph meta tags. So that you can make sure that it displayed the proper information and image, when someone shares your website on Facebook.
Although the second thing is that, it also allows you to force refresh the cache of Facebook. Basically, it will help you to ensures that the link previews of your website will display the most recent information.
What Is Facebook Debugger?
Facebook debug tool is an open source software also known as Facebook Open Graph Debugger. This software helps you to analyze your entire pages, just to check if there is any error in the way while handling og tags. Further, while sharing a link on Facebook, you can use it to analyze how your link will appear. Illustrated below image shows an example;
In addition, a Facebook link debugger is a tool that comes with supports and tools on the Facebook developers site with many useful things. More so it allows the users to inspect what information Facebook receives from each and every page on your entire website.
Although as you know that Facebook Debugger is nothing but a free tool that works online. Also, it can help you to control the information of your blog posts and pages that other people see, when you or another person shared your blog posts on Facebook.
Basically, the Facebook Debugger tool is very essential for the brands that are connected with Facebook pages. Because it is happen sometimes that the previews of the web pages or blog posts of your website do not show up right when you or anyone share them.
For illustration suppose that there is an older image of your blog post that shows up currently. In addition, somtimes Facebook itself grabs a random image from your blog post or article page rather then the main image of the post.
Basically the Facebook Debugger is able to review any webpage within a few seconds and the generate a report, which allows you to know specifically why it is not publishing the previews of your post the way it is. So that you will be able to use the information in its report for making changes to your HTML or tags and correct the problem.
Well, you should keep on reading the post to know more about the Debugger tool step by step, so that you will understand how to view, adjust, and refresh your Facebook previews.
How To Use The Facebook Debugger Tool?
Well, now let us know more further about how you will use the Facebook Debugger tool? and know all the ways to control what shows up when anyone shares your website’s blog post or articles on Facebook.
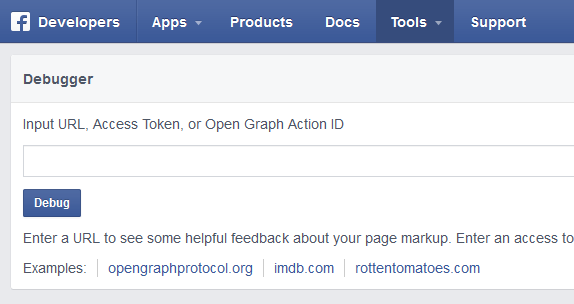
However, to do so or understand it better you need to follow a few steps along by Debugging one of your own web pages or blog post as you take through all the required steps. However, if you want to use the Facebook open graph debugger.
Then you do not need to create any special account. All you need to do is just have a Facebook account to use it. Basically you are able to access the Facebook Debugger tool just by directly going to the sharing Debugger page. In addition, you can navigate to the following:
Facebook for Developers > More > Tools > Sharing Debugger
But you have to make sure that you are log in currently. Because if you are not already logged in currently, then you will need to sign in first in order to use the debugger tool.
However, the page set by default to the Debugger tab. But in some cases, if it is your first time doing the debugging, you must check it properly to make sure that the Sharing Debugger tab is highlighted.
After that, all you have to do is just copy the URL of the required page or blog post that you want to analyze and then paste it on the Facebook URL Debugger.
Thereafter, click on the “Debug” button. As you have pressed the debug button this facebook object debugger will show you a full analysis of that particular page.
Note: Facebook has been selected to hold a list with og (open graph) elements at the share message. Following are the elements that are included in og list:
- og:url
- og:title
- og:image
- og:site_name
- og:type article
- og:description
- og:updated_time
- Article:published_time
In the return analysis, you will see a warning as a notification if the service finds an og tag missing;

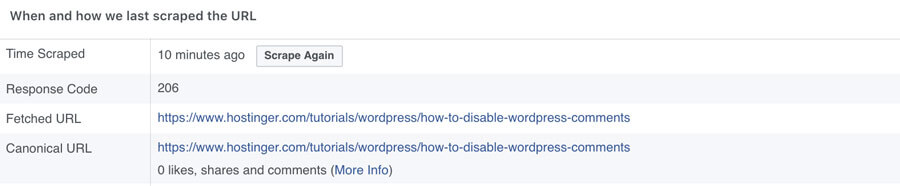
Just below that, you will find information that Facebook accessed or ‘scraped’ last time the link that you entered. In addition, the canonical URL page’s information and any redirects that Facebook encountered is also included in this section.
[Image Source File: www.hostinger.com]
Consequently, the very important thing is that – when you share a URL on the platform, you’ll also see the entire preview of how Facebook will interpret the URL. If any error occurs along with the featured image, see the illustrated below image as an example;
Further, if you want to be more attentive, you should always check all the content via facebook link debugger before sharing on facebook. However, this is an inefficient approach. Instead, in order to avoid error in the first place, you should look to optimize the og tag of your content.
Continuously, by scrolling down your reports you can see a full breakdown of all the og tags on the page that you have selected to analyze.

Ideally, what you see here should be the same title, meta description, URL, and images you set in WordPress. If those are not the values that appear here, you might want to use a dedicated tool to make sure your tags are set up correctly. Let’s talk about how to do that.
Note that the title, meta descriptions, images, and URLs that you have set up in WordPress should be the same that you are seeing here. If these are not the same, you may use a dedicated tool to ensures that your tags are set properly. But the question is how to do that, let’s see;
Fixing incorrect Open Graph Tags in Facebook
Well, if you are not using og tag properly, then chances are – the facebook url linter will not display your entire content. That’s not your WordPress pages fault.
The best way to avoid the issue is using a plugin that will help you to set up og tags manually for each & every page.
However, there are various plugins that authorize you to select what elements facebook should display, which is the same as enabling you to configure your og tags.
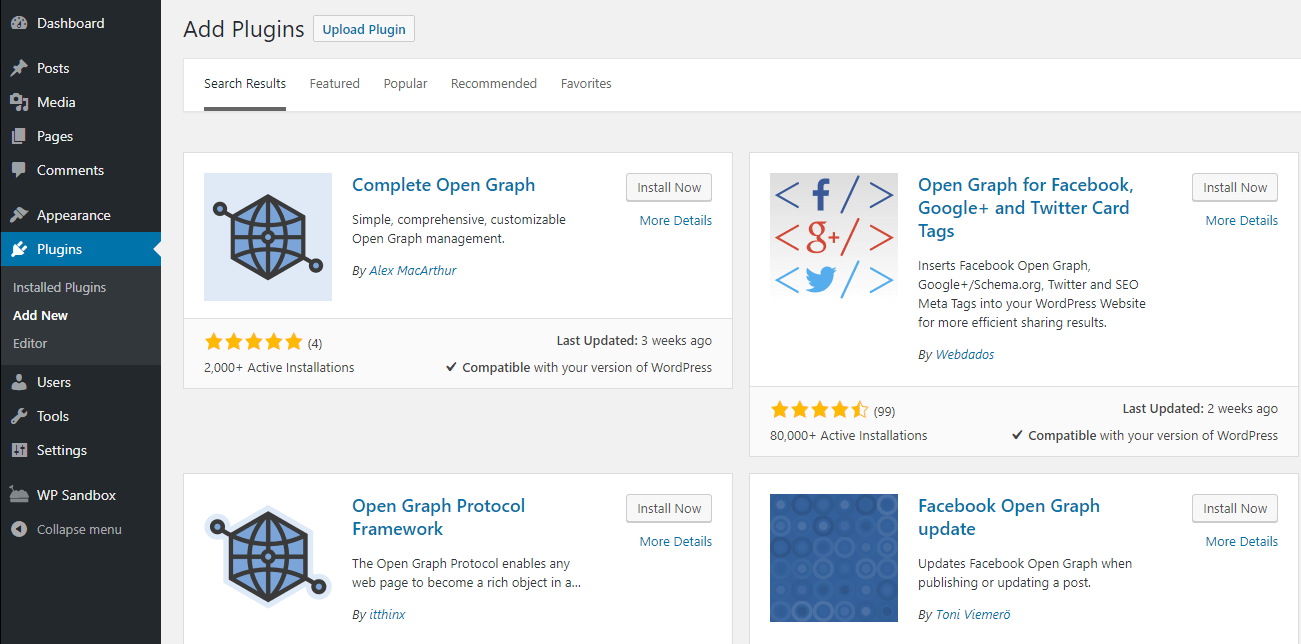
However, Open Graph for Facebook, Twitter Card Tags, and Google+ are the easiest one among them to use (here, we recommend Facebook Graph Debugger tool from now on.) – Now what?
This is the time to use the plugin, open your WordPress dashboard and go to the Plugins tab. Thereafter, click the Add New button and use the search bar on the next page to see the plugin by using its full name.
Open Graph for Facebook will appear among the search result, now press the Install Now button.
After the installation and activation process, a new widget will appear you just below the WordPress editor while you open up any page or post.
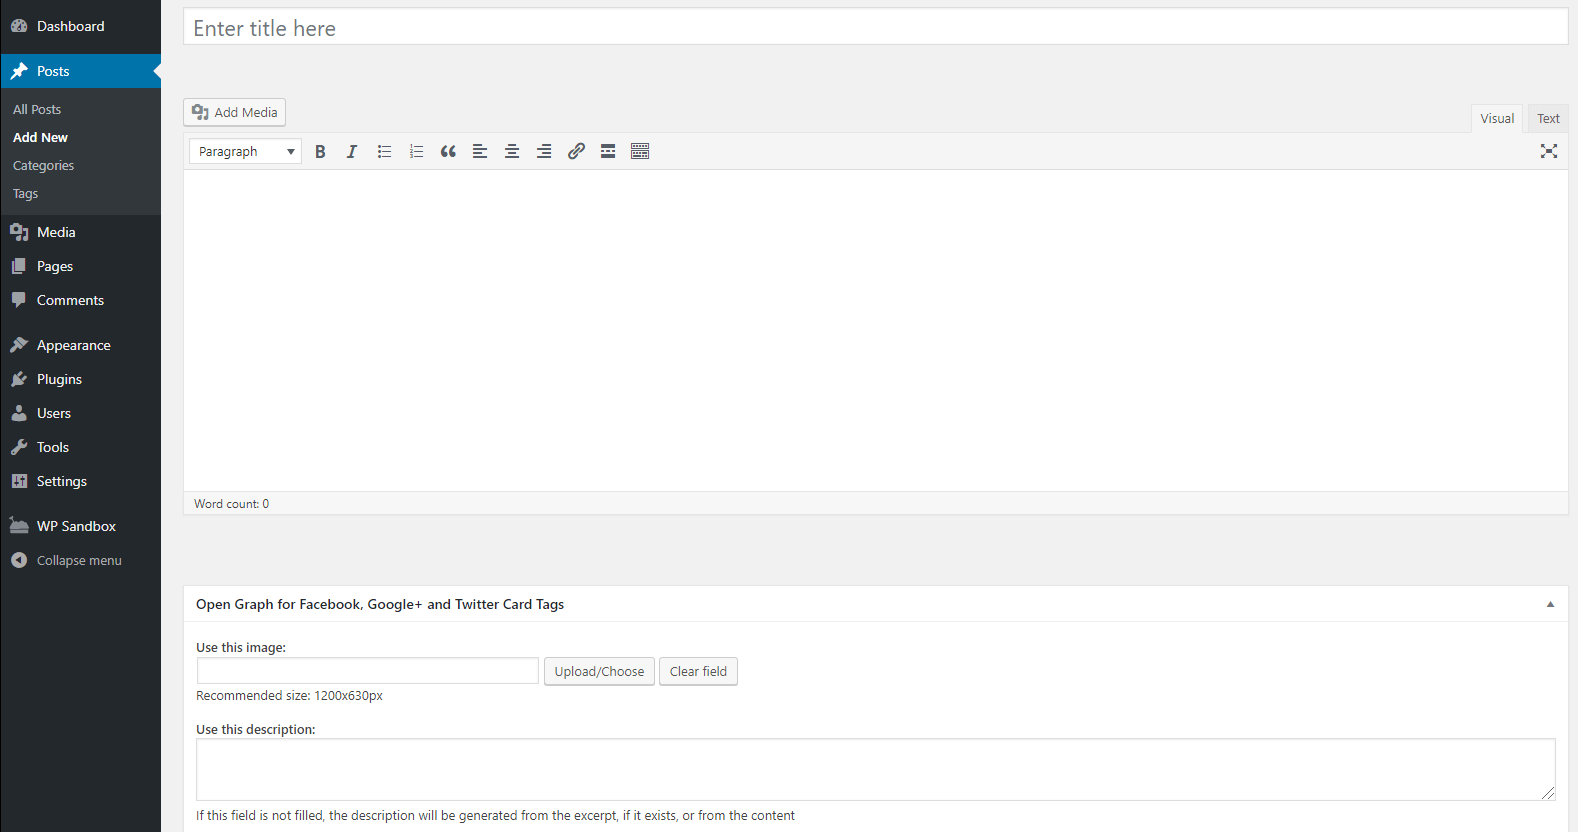
Consequently, here set up manually your og image and description tags. As far as, the plugin will automatically take care of the title and URL of your content.
Press the upload/choose button to set an image. Next, the plugin suggests you use the image with 1200 x 630 px resolution, that is excellent for facebook.
Remember that, you will also need to select a featured graphic by using the featured image section even if you are manually setting up an image. You can use the same image for both, but still, you need to deal with each task separately.
Once you set up the image, thereafter, set up your content meta description within 160 characters for Facebook, Google also 160 characters.
Notwithstanding that little difference, we suggest you use the same description in both places to make it a bit easier.
Once you all this done! update or publish your WordPress page or post. Thereafter, share your content on Facebook. Now you will no longer have any problems with your featured image. Still, if you are facing any problem then take a look at the next section – here we will discuss how to tackle most likely culprit.
Fix WordPress Images via Facebook Debugger
With any tools or software, if you don’t follow the instruction laid out for good implementation, you have multiple issues or quirks in your works.
Well, we have discussed above – the facebook debugger plugin that will help you to troubleshoot the issues with your Open Graph Meta tags. You can find Facebook Debugger on Facebook for developers site. However, if you wish sharing number of content on Facebook, this is the best link to bookmark for future reference.
Further, to crawl a post, you have to do is to enter the URL and click on the ‘debug’ button. Now we are going to illustrate you through an example:
If you update the image on any (x,y,z) article. When we enter the URL into the Facebook debugger, it will first pull the cached information. In this case, it is pulling the old image before you updated the content. You can also see that the og: image is the old file name.
Thus, we will elaborate throughout the two steps to fix the problem! Let’s get cracked…
#1 Step: Update The WordPress Website’s Open Graph Meta Tags
Although if you want to change or control that which image will Facebook choose or the text it will edit on your card preview. Therefore you will have to update your WordPress website’s Open Graph meta tags for sure. However, a large number of people uses Yoast SEO for doing this. Because it is the most popular and yet useful option available for you.
But it will also do not affect so much if you are using any social media plugin or any other different type of SEO plugin. All you will have to do is just update your Open Graph meta tags there instead. Besides that, if your website does not have any Open Graph meta tags currentely. Then you can also use any useful or dedicated plugin such as Open Graph for Facebook, Twitter, and Google+ card tags.
However, the Yoast SEO can generate your Open Graph meta tags by default from your post’s meta description, featured image, and other information that you have already entered. In addition, if you want though so you are able to control that information manually just by using the Social tab of the Yoast SEO meta box.
#2 Step: Clear the WordPress Cache
To get the latest information, you need to ensure the facebook grabs. Before that – clear the entire cache from your site: developed on either of the CMS (Content Management System.)
Caching plugins are fabulously popular! Because they allow the users to increase the performance of their site by storing some content in the visitor’s browsers. But there is a problem – instead of the most up-to-date version, sometimes Facebook can try to drag the og tags from the cached content.
For example, if the og tags are not included in the cached copy of one of your pages, Facebook may have the problem to show the entire information properly. And it may also be that, you may have changed the particular image of the page.
Continuously, in any case, the best way to fix this issue is to clean your WordPress cache. However, there are several ways to do the same that’s depends on which plugin you are using.
Here, we will elaborate you by using the 3 different plugins:
1. W3 Total Cache
Here we will fix this problem via W3 Total Cache. To do this, you just need to visit your dashboard and navigate to the performance>>dashboard tab. Here, you will see “empty all caches” button on the top.
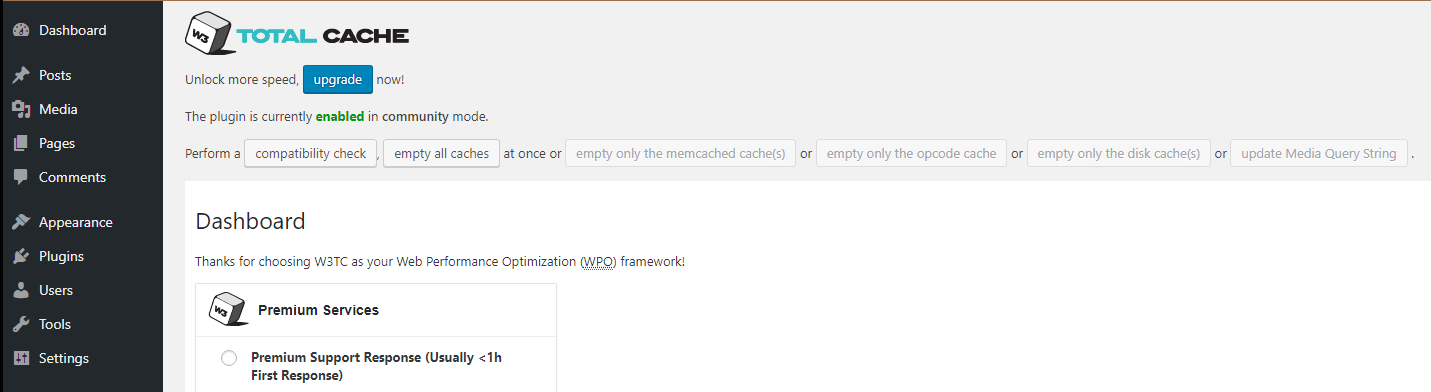
Thereafter, you have to click on that button and wait. After a few seconds reload your page, now your cached has cleared.
2. WP Super Cache
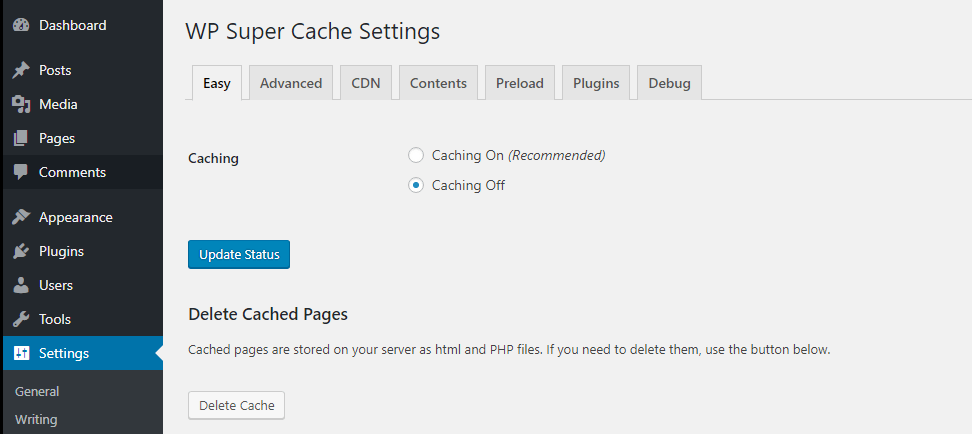
However, fixing the problem by using the WP Super Cache plugin is also quite simple. To do this, you need to visit Settings>>WP Super Cache tab in your WordPress dashboard. Here you will see a “Delete Cache” button. Now click on that button and clear your cache.
3.WP Fastest Cache
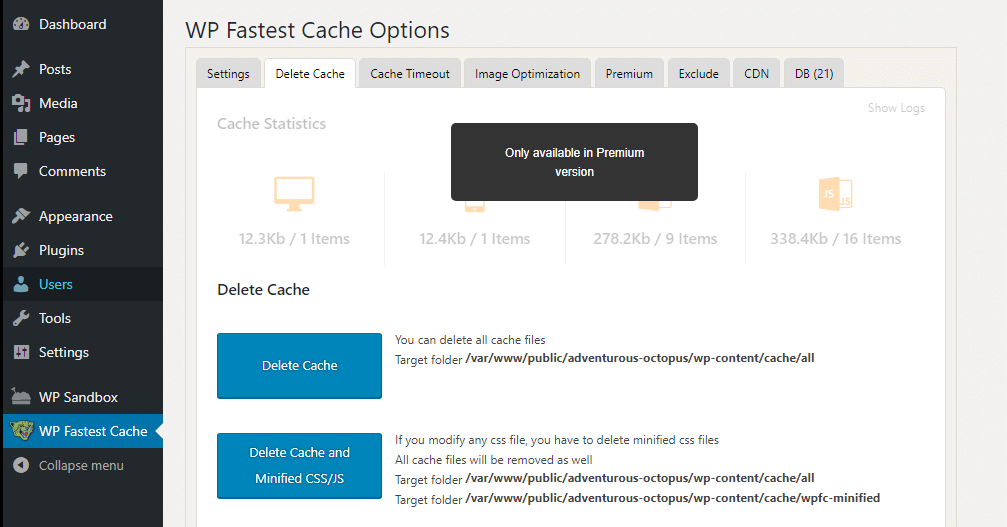
To fix the issue via WP Fastest Cache plugin, you have to go to WP Fastest cache tab and look the segment that says Delete Cache on the next screen. Now, you will see a bright blue “Delete Cache” button. You have to click on the button.
Further, in case you are using a third-party plugin you need to see their documentation to ensure how to clear your cache for a URL.
#3 Step: Force Facebook to Reload Your Open Graph Tags
Now, your cache has cleared and you have set og tags for your content. Hence facebook should be able to organize your link properly.
To do this, navigate to the Facebook Debugger tool and enter the URL that you want to post on the platform.

On the next page, find out the “Scrape Again” button, next to the Time Scrape field:

Now, you need to click on the “Scrape Again” button. Facebook will see your article again. If all things working accurately, then, your article preview will be pixel-perfect.
Bending towards the next point, you need to set the images and meta description properly that you want to show on Facebook for each & every article.
Last but not least! If you go through more issues, just clear your cache.
Tips and Tricks For Facebook Image Issues Debugging
Although you can make sure that your WordPress website’s content will always shown perfectly, just by using the Open Graph meta tags and Facebook Debugger when your blog post images are shared on Facebook.
However, you must remember that sometimes the caching can play tricks with that what shows up on the screen. Therefore if you do not see the proper information.
Then you have to make sure that you have clear the cache on your WordPress website. After that, you should force Facebook to scrape it again with Facebook Debugger.
However, there are some extra steps for optimizations that you have to take or complete if you want to ensure that Facebook is able to display the previews of images properly every single time.
Must Use Proper Image Sizes For Facebook
Although it is recommended from Facebook that you must keep the size of the images at least 1200 x 630 pixels that you want to use to maximize the quality of the high-resolution displays. But for the minimum resolution, your images must be at least 600 x 315 pixels.
However, you have to maintain this same aspect ratio of the images even if you want to use some different image sizes. Because if you use a different aspect radio other then the standard one then facebook will crop your images automatically. Therefore if your image ratio is below then the 600 x 315 pixels. Then you will not get the full image preview.
However, you can see what the preview will look like for smaller images on it. Besides that, if the size your image is below then the 200 x 200 pixels. Then you will not be able to get any preview image. In addition, you will see an error message about this on Facebook Debugger.
Fix No Preview Image Issue With Pre-Cache Content
Although if you want to fix no preview image Issue, then you can do so with the help of Pre-Cache Content for any brand new post or pages. Because when anyone shares any one of your links on Facebook for the very first time. Then Facebook may not display any preview image right away.
However, the reason behind that is the crawler of Facebook need to see that image at least once before it can be rendered. In other words, you can understand it as that the first very person who is sharing the piece of content, he will not be able to a rendered image. Although there are two useful ways for that you can fix this.
At the first option, you should run all of your new pages and blog posts through the Facebook debugger just after you publish them on your website. Because this process will allow Facebook to pre-cache the image of your post. So that it can make sure that it shows up right away. Even if the first person share that post for the first time.
On the second option, you can add the og:image:height and og:image:width to the Open Graph meta tags. Therefore this process can allow the crawler to render the post image immediately without having the asynchronously download and process it.
Hope you like the information. For any kind of issue regarding WordPress contact our WordPress support desk on +1-888-738-0846 (Toll Free).