
The internet is jammed with information that is requested by many users on a daily basis. This information is generally (almost 70%of the time) presented in the form of websites, So we inform you how to install WordPress on Godaddy website for your business.
The fact that these websites are created in the first place and then made live to be accessed from any part of the world is possible with the well-worked combination of WordPress(to build a website without any coding) and GoDaddy(to get the site’s unique name).
In this blog, we will try to explain how to install wordpress on Godaddy with a detailed explanation of each step while keeping in mind the different scenarios that can occur during the process.
How to set up WordPress on GoDaddy?
There are two ways to install WordPress on your GoDaddy Account :
Method 1: Installing through GoDaddy Product Section
Method 2: Manually through cPanel
METHOD 1: Installing WordPress directly through GoDaddy’s Product Section
STEP 1: Sign in to your GoDaddy Account on GoDaddy.com by simply giving your username and password.
STEP 2: On the top right corner, click the account name you have provided. A dropdown appears, then follow the given steps:
Account >> My Products >> SetUp
STEP 3: Now an all-service and product page appears. Choose the type of web hosting you need.
My Products >> Web Hosting >> Economy Linux Hosting with cPanel >> Set up
NOTE :
Now this web hosting can be of two types :
a) Linux-Based
b) Windows-Based
It is advised to use Linux-Based Hosting. It may sound complicated but it allows the site to work better with customizable options. Linux also opens a road to add customized options in the future.
STEP 4: On the same page as STEP 3, you will get an option to choose your domain name. So enter the domain name and update it.
STEP 5: Choose your Data Center and click OK. Data Center is a location where you want to target the maximum audience.
STEP 6: A new window will appear asking to create a WordPress Site. Click Yes, let’s do it.
STEP 7: Set up your WordPress account by providing WordPress and your User Name. Now a screen appears provisioning your account. Wait until it’s done.
A DNS screen appears after this. You don’t need to think about that, just click the I’m done, continue setup button to proceed and complete the onboarding.
STEP 8: Conditional Step
Now this step needs to be performed only when you get an error while accessing your WordPress dashboard. You might not get the error if you are using a GoDaddy domain.
In order to solve the error, you will need to provide the GoDaddy nameserver to your Domain Registrar. In order to do so:
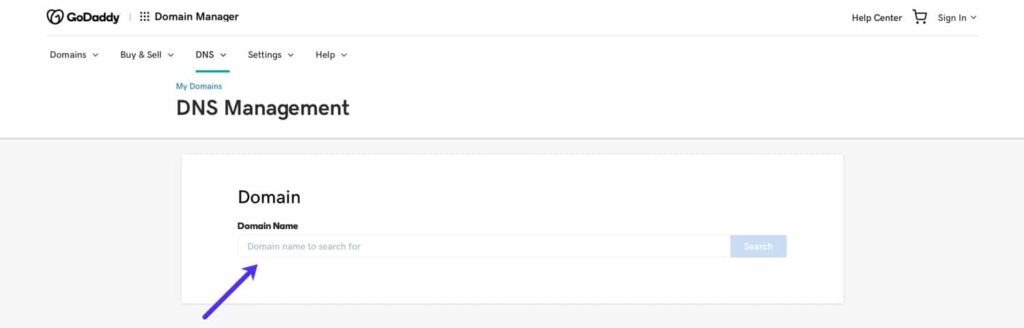
GoDaddy Account >> Domain Management >> DNS >> Manage DNSSEC DS Records >> Copy the server name from the list that will appear.
Note: GoDaddy does not have a fixed server name. In order to Identify its server, look for the values with the NS prefix.
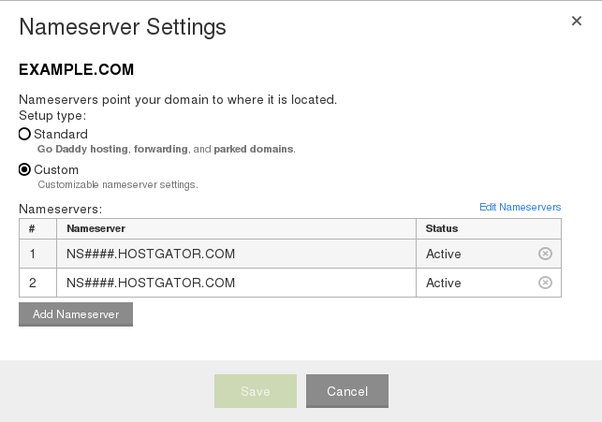
Now you will need to paste these names you copied from GoDaddy into your domain registrar data.
We will show you how to do for NameCheap’s Domains and similarly, you do for your domains but the method remains the same.
Go to your NameCheap account >> Domain >> Domain List >> Nameserver >> Custom DNS >> Domain name>> Update.
STEP 9: Come back to your GoDaddy Account and check if the error has been resolved. Then you will have to wait for a few hours to get your DNS propagated.
STEP 10: After a few hours, type the domain of your website on the search bar, and you will see all the errors have been resolved. Now you can easily access the dashboard of WordPress and set up your desired themes, plugins, and extensions, and get started.
METHOD 2: Installing WordPress on GoDaddy via cPanel
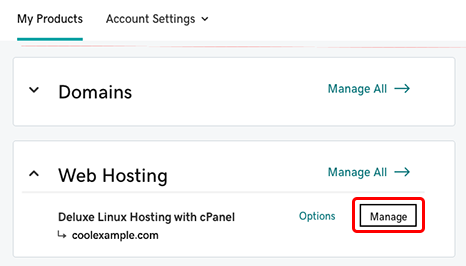
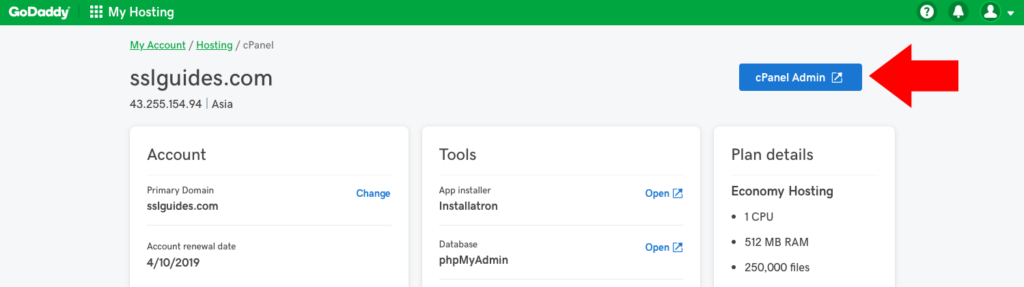
STEP 1: Go to your GoDaddy Account on GoDaddy’s Official Website and navigate to My Account to follow the steps below:
My Account >> Web Hosting >> Manage >> cPanel Admin.
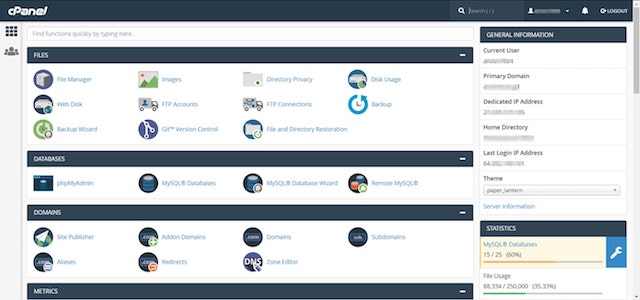
STEP 2: You will now enter the cPanel administration, now go to
Web Application >> WordPress >> Install the application button.
STEP 3: Fill in all the required details of your domain and keep in mind the points mentioned below:
3. a) Enter the https version of your site (recommended for security purposes).
NOTE: If your hosting plan does not support SSL, you can install an SSL certificate for free on GoDaddy. Just follow the steps below:
Access Cloudflare account >> Add a new site >> enter your site >> select the free plan >> DNS Management >> Copy the nameserver provided to your domain registrar account( Check step 8 of method )
Wait for DNS Propagation, then continue the below steps:
Go to Cloudflare account >> SSL/TLS >> Origin Server >> Create Certificate.
While creating the certificate, fill in the below-given information as it is :
Private Key Type: RSA
HostName: –
Certificate Validity: 15 years
Key Format: PEM
You can now add an SSL certificate from cPanel of your GoDaddy Account.
STEP 4: Then install WordPress and access the dashboard using your username and password.
Conclusion:
We have reached the end of the article and sincerely hope that now you clearly understand how to install WordPress on the GoDaddy account without any hazel.
In case of any issues/doubts feel free to contact our team of professionals at www.wpglobalsupport.com or you can also leave comments. We would try to get back to you at the fastest.